
I have learned that when Windows begins behaving strangely, updates fail, apps crash, or cryptic errors appear, one command often becomes the quiet hero: dism /online /cleanup-image /restorehealth. For many users, it is a line copied from a forum and pasted into an elevated Command Prompt. For system administrators, it is a foundational repair mechanism built directly into the operating system.
The command scans the live Windows installation for corruption in the component store and repairs damaged files using Windows Update or a specified source such as a mounted ISO. It does not delete personal files. It does not reinstall Windows. It repairs the image that Windows uses to maintain itself. When update failures like 0x800f081f appear or System File Checker reports unrepaired corruption, DISM is often the next step.
DISM stands for Deployment Image Servicing and Management. Introduced in Windows 7 and Windows Server 2008 R2 as the successor to earlier servicing tools like ImageX and Package Manager, it unified Microsoft’s approach to maintaining Windows images. According to Microsoft documentation, DISM can mount, modify, and repair Windows images both offline and online.
Yet for everyday users, it is the /online /cleanup-image /restorehealth sequence that matters most. Behind those switches lies a process that can take 10 to 30 minutes or longer, sometimes stalling at 62.3 percent, sometimes failing with opaque error codes. Understanding what it actually does transforms it from a mysterious incantation into a deliberate repair strategy. – dism /online /cleanup-image /restorehealth.
What DISM Actually Repairs
At its core, DISM repairs the Windows component store, located in the WinSxS directory. This store contains the canonical copies of system files used for updates, features, and repairs. If corruption occurs here, System File Checker cannot reliably replace damaged files because its source of truth is compromised.
Microsoft describes the component store as the repository used to support features and updates across the operating system. When corruption occurs, updates may fail or the system may exhibit instability.
The /online switch instructs DISM to target the currently running Windows installation. /cleanup-image focuses operations on the component store. /restorehealth triggers a full scan and repair attempt.
Cybersecurity researcher Troy Hunt has written that system integrity depends on trusted sources of software components. In Windows architecture, that trusted source is the component store. DISM ensures that source remains intact.
When the store is healthy, Windows can heal itself. When it is corrupted, repairs cascade into failures. That is why DISM precedes other repair tools. – dism /online /cleanup-image /restorehealth.
Read: Cannot Access 192.168.1.1 Router Admin Page Fix
The Proper Order: CheckHealth, ScanHealth, RestoreHealth
DISM provides three escalating health checks under /cleanup-image.
| Command | Purpose | Duration | Makes Changes |
|---|---|---|---|
/checkhealth | Quick metadata check | Seconds | No |
/scanhealth | Deep corruption scan | Several minutes | No |
/restorehealth | Full repair operation | 10–30+ minutes | Yes |
The recommended sequence begins with:
dism /online /cleanup-image /checkhealth
Then:
dism /online /cleanup-image /scanhealth
Finally:
dism /online /cleanup-image /restorehealth
Microsoft’s official servicing documentation recommends assessing corruption before initiating repairs. If no corruption exists, restorehealth is unnecessary.
This progressive structure mirrors medical diagnostics. First confirm symptoms. Then scan deeply. Only then intervene. – dism /online /cleanup-image /restorehealth.
DISM and SFC: Why Order Matters

System File Checker, invoked with sfc /scannow, predates DISM. It checks protected system files and replaces corrupted ones using the component store.
If the component store is damaged, SFC may report that it found corrupted files but could not repair them.
Microsoft support guidance consistently advises running DISM first when SFC fails. The sequence is deliberate:
- Repair component store with DISM
- Reboot
- Run SFC to validate system files
Security expert Mark Russinovich, a Microsoft technical fellow, has emphasized that system reliability depends on layered integrity checks. DISM and SFC operate in layers. One repairs the foundation. The other repairs the structure built on top.
Running SFC first can be useful for quick checks. But when corruption is persistent, DISM must restore the store before SFC can succeed.
When DISM Fails: Error 0x800f081f and Beyond

One of the most common failures is error 0x800f081f. It indicates that the source files could not be found. In practical terms, Windows Update cannot provide the necessary repair files.
This may occur when update services are corrupted, when internet connectivity is unstable, or when system version mismatches prevent correct file retrieval.
The solution often involves specifying an external source. Download the exact Windows ISO matching your edition and build. Mount it, note the drive letter, and identify the correct image index:
dism /Get-WimInfo /WimFile:D:\sources\install.wim
Then run:
dism /online /cleanup-image /restorehealth /source:wim:D:\sources\install.wim:1 /limitaccess
The /limitaccess flag prevents DISM from attempting Windows Update. It forces reliance on the mounted image.
Microsoft’s deployment documentation confirms that specifying a repair source bypasses online servicing dependencies.
Why DISM Gets Stuck at 62.3 Percent
Users often report that DISM freezes at 20 percent, 40 percent, or 62.3 percent. The number becomes infamous.
In many cases, it is not truly frozen. DISM may be processing large component files or downloading replacements silently.
Microsoft’s servicing stack performs background validation tasks during restorehealth. On slower drives, especially mechanical hard disks, these operations can take an hour or more.
Before canceling, wait at least one to two hours. Canceling prematurely can interrupt active repairs.
If progress does not resume, investigate disk integrity with:
chkdsk C: /f /r
Disk corruption can stall servicing operations. After CHKDSK completes and the system reboots, rerun DISM.
Patience often resolves the issue. Impatience frequently complicates it.
Resetting Windows Update Components
When Windows Update services malfunction, DISM cannot retrieve clean components.
Stopping and restarting update services can restore functionality:
net stop wuauserv
net stop cryptSvc
net stop bits
net stop msiserver
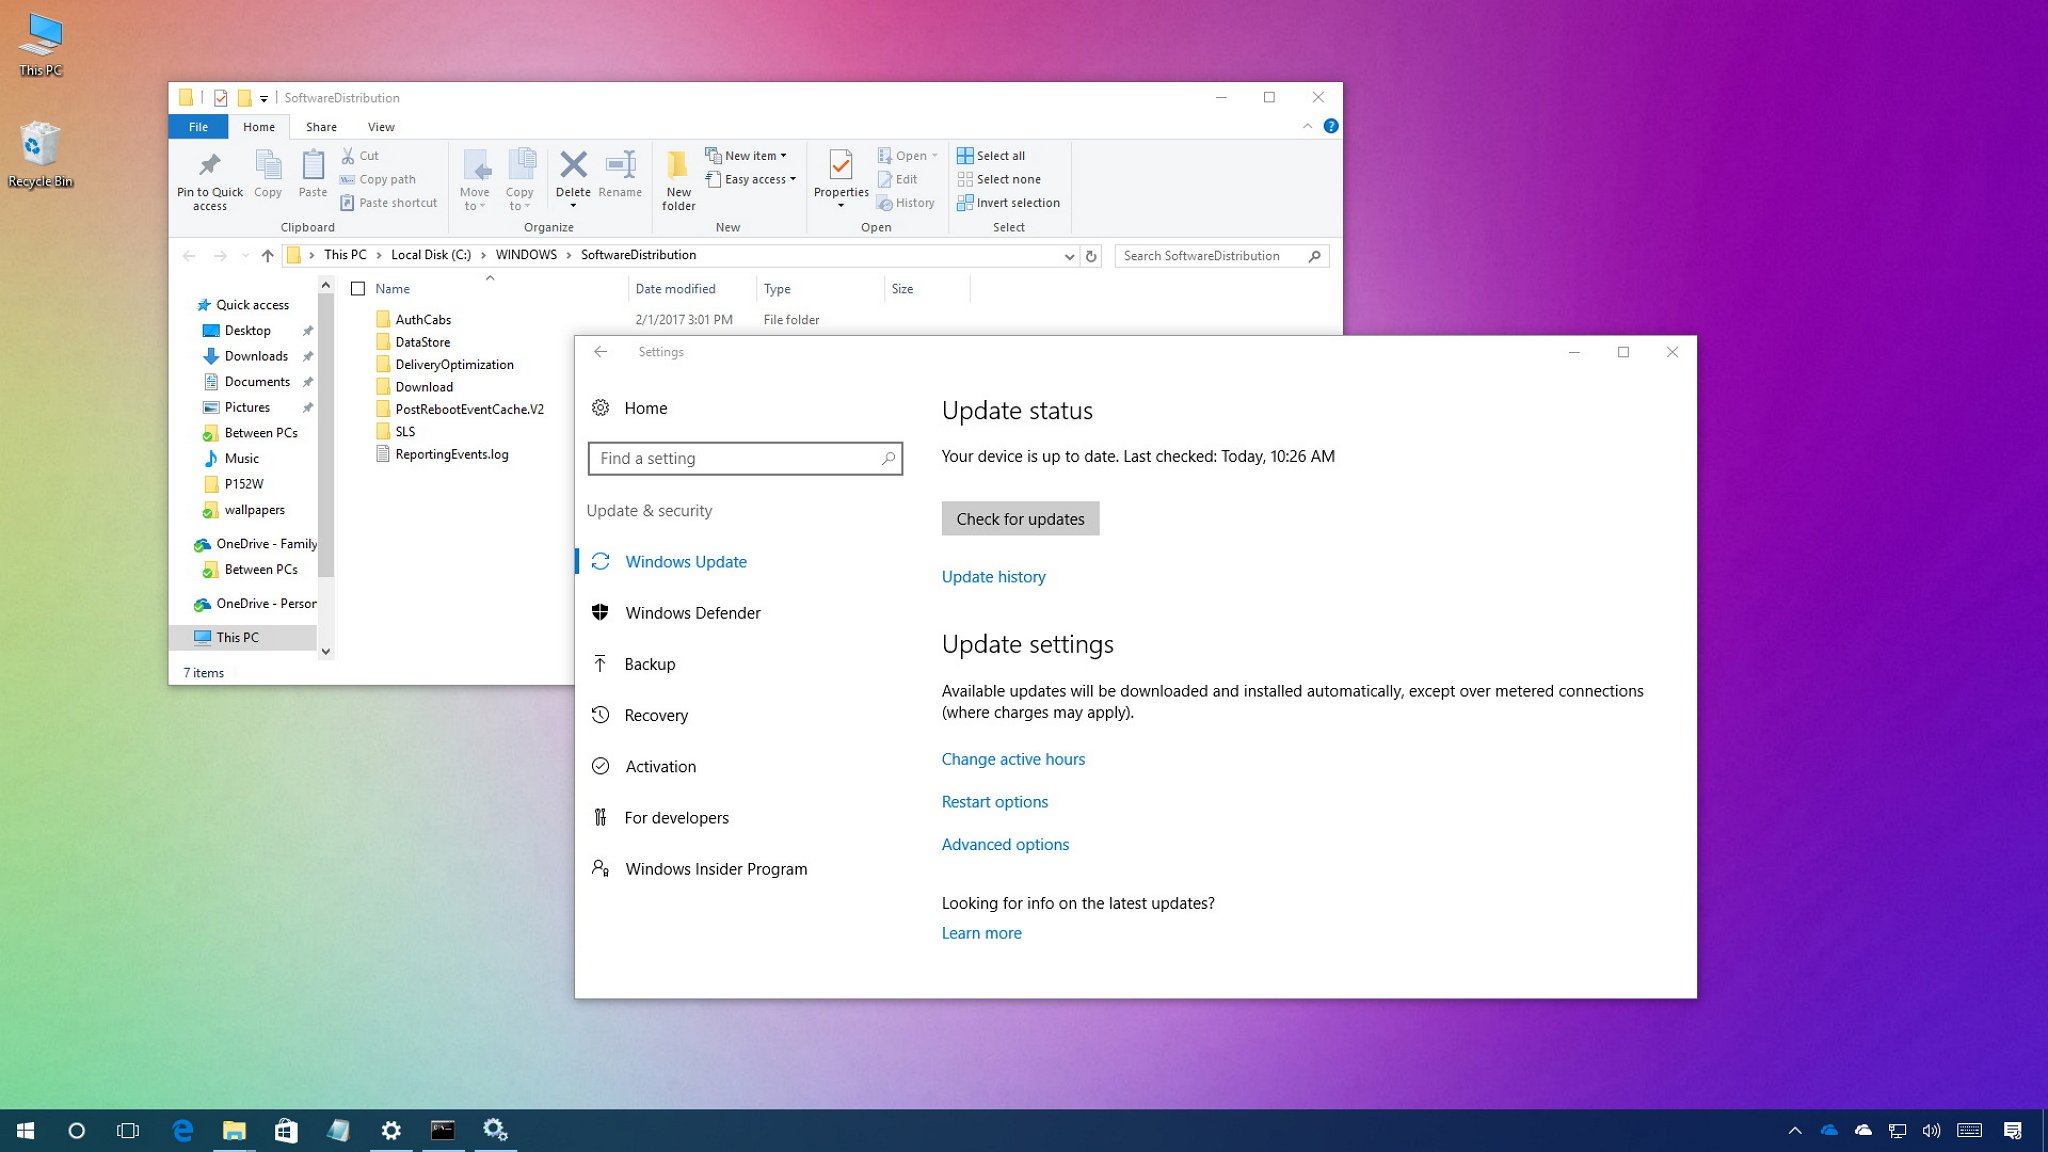
ren C:\Windows\SoftwareDistribution SoftwareDistribution.old
ren C:\Windows\System32\catroot2 catroot2.old
net start wuauserv
net start cryptSvc
net start bits
net start msiserver
The SoftwareDistribution and catroot2 folders store update metadata and temporary files. Renaming them forces Windows to rebuild fresh copies.
The U.S. Computer Emergency Readiness Team has noted that update integrity is central to operating system security. When update caches become corrupted, repair mechanisms falter.
After resetting services, rerun DISM. In many cases, restorehealth succeeds on the second attempt.
Running DISM in Safe Mode

Safe Mode loads Windows with minimal drivers and services. This reduces interference from third party software.
Access Safe Mode by holding Shift while selecting Restart, then navigating through Troubleshoot and Startup Settings.
In Safe Mode, open Command Prompt as Administrator and rerun DISM.
Antivirus software, system optimizers, and background services may interfere with servicing operations. Safe Mode creates a controlled environment for repairs.
For persistent corruption, this environment can make the difference between repeated failure and successful restoration.
Comparison of Repair Strategies
| Scenario | Recommended Action | Why |
|---|---|---|
| Minor file corruption | Run SFC first | Faster check |
| Update failures | Run DISM then SFC | Repairs component store |
| DISM error 0x800f081f | Use ISO source | Bypass Windows Update |
| Stuck at 62.3% | Wait 1–2 hours | Background processing |
| Disk errors suspected | Run CHKDSK | Fix file system corruption |
Takeaways
- DISM repairs the Windows component store, not personal files.
- Run CheckHealth and ScanHealth before RestoreHealth.
- Always execute commands in an elevated Command Prompt.
- If DISM fails, specify a matching Windows ISO as source.
- Stalls at 62.3 percent often require patience.
- Reset Windows Update services if restorehealth cannot download files.
- Follow DISM with SFC for full system validation.
Conclusion
I have come to see dism /online /cleanup-image /restorehealth not as a desperate measure but as a deliberate act of maintenance. Windows is a layered system. At its foundation lies the component store, the quiet archive from which updates and repairs draw their strength.
When that archive is damaged, instability spreads outward. DISM restores order at the root.
The command may stall. It may fail with unfamiliar codes. It may demand patience. Yet its design reflects decades of refinement in Windows servicing architecture. It operates carefully, targeting only Windows owned files while leaving personal data untouched.
In an era when reinstalling an operating system can feel easier than repairing it, DISM remains a powerful reminder that systems can often heal without erasure. Understanding how and when to use it transforms frustration into informed action.
Sometimes the most powerful tools in computing are not graphical interfaces but quiet commands waiting in a terminal window.
FAQs
1. Is DISM safe to run regularly?
Yes. It repairs Windows system files only and does not affect personal data.
2. Should I cancel DISM if it is stuck?
Wait at least one to two hours before canceling. Many stalls resolve naturally.
3. Can I run DISM without internet?
Yes. Use a mounted Windows ISO as the repair source with the /source parameter.
4. What does error 0x800f081f mean?
It indicates that required repair source files could not be found via Windows Update.
5. Do I need to reboot after DISM?
A reboot is recommended before running sfc /scannow to finalize repairs.